Lawyer Website Design
Design • Copywriting • Hosting & Maintenance • Optimization • AdWords • Recovery
Website Specials For Small Law Firms and Solo Practitioners

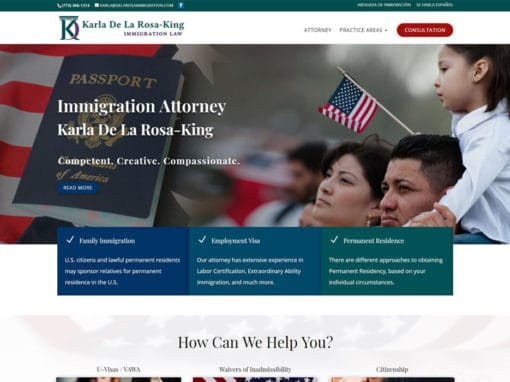
Immigration Lawyer Websites
AILA Member Specials: Custom Website Solutions with SEO, expert content on many topics.
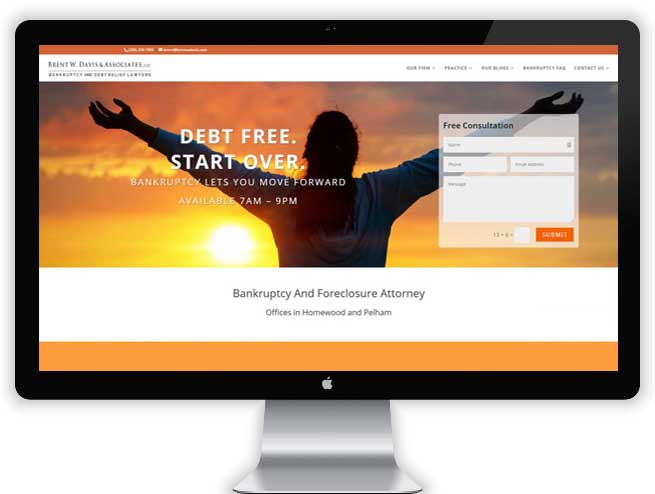
Bankruptcy Lawyer Websites
NACBA Member Specials: Custom Website Solutions with SEO, expert content.

Personal Injury Attorney Sites
Personal Injury lawyers face a tough competition. We help them convert visitors to clients.

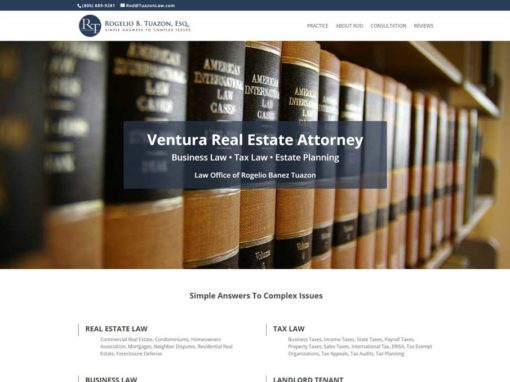
Small Law Firm Sites
Affordable Lawyer Firm sites for small law firms and solo practitioners.

Estate Planning Law Firm Sites
Estate Planning Law Firm sites: Custom Solutions with SEO, expert content on many topics.

Family Law Attorney Websites
Family Law and Divorce Attorneys: Custom Website Solutions with SEO, expert content.
We Make Sure You Are Being Found!
Google Local Business Listing Included in All Packages
Our Service is Legendary
What sets AWebsiteForLawyers apart is the fast response time when we need changes or have questions.
The site looks unique and very professional.
My friends say: “I am proud to say I knew you before you were famous!”
Unhappy with your site? Get a second opinion!
Are you in doubt about the service you are receiving?
Are you missing new client calls? Let AWebsiteForLawyers review your site.
Still Paying Monthly Fees? Stop Overpaying for Lawyer Websites
Back in 2005, AWebsiteForLawyers.com founder Matt Schaefer noticed that lawyers and attorneys pay about five times as much for a website as usual web design clients. There was no way for attorneys to go public with affordable lawyer websites. He was amazed to see that many law firms paid thousands to web designers and for directory listings without even being found on Google and other search engines. Some attorneys reported to him that there was no transparency in billing and services offered by their providers. Many of them were waiting weeks for small changes done to their lawyer website. Most of them felt simply ignored by their web services provider.
Examining the services these lawyers received, he noticed that some monthly-billed services were exceeding the industry-standard about ten times – combined with lousy services.
How much does a lawyer website cost?
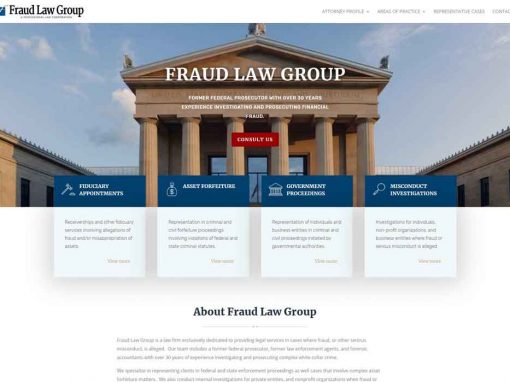
Recent Lawyer Website Examples